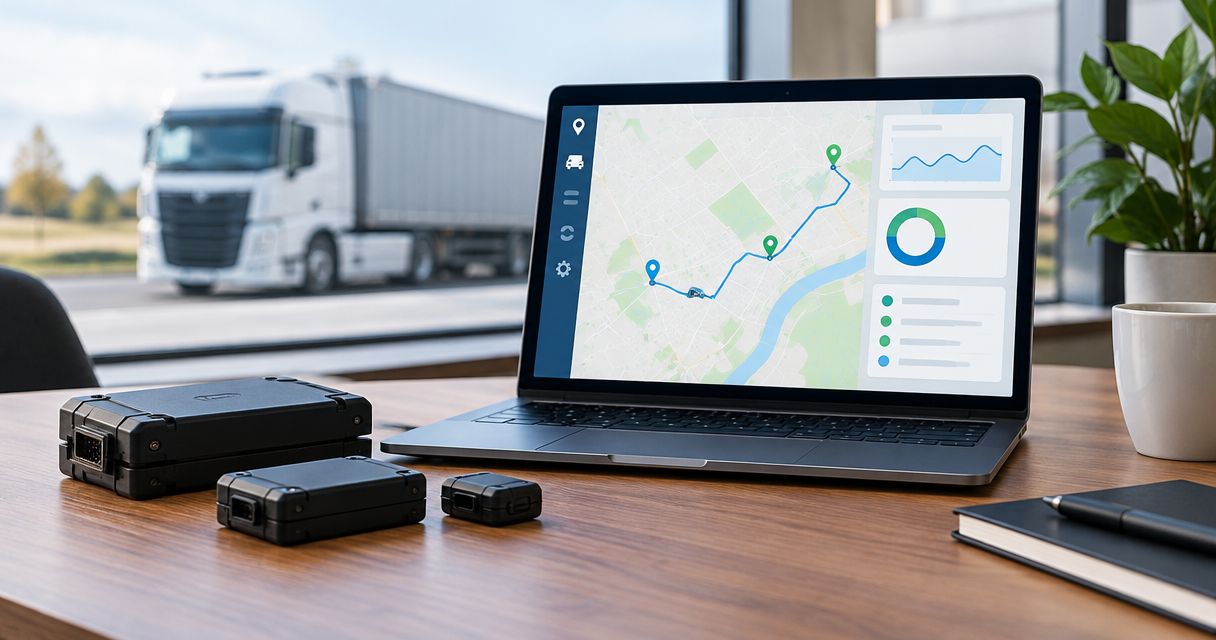
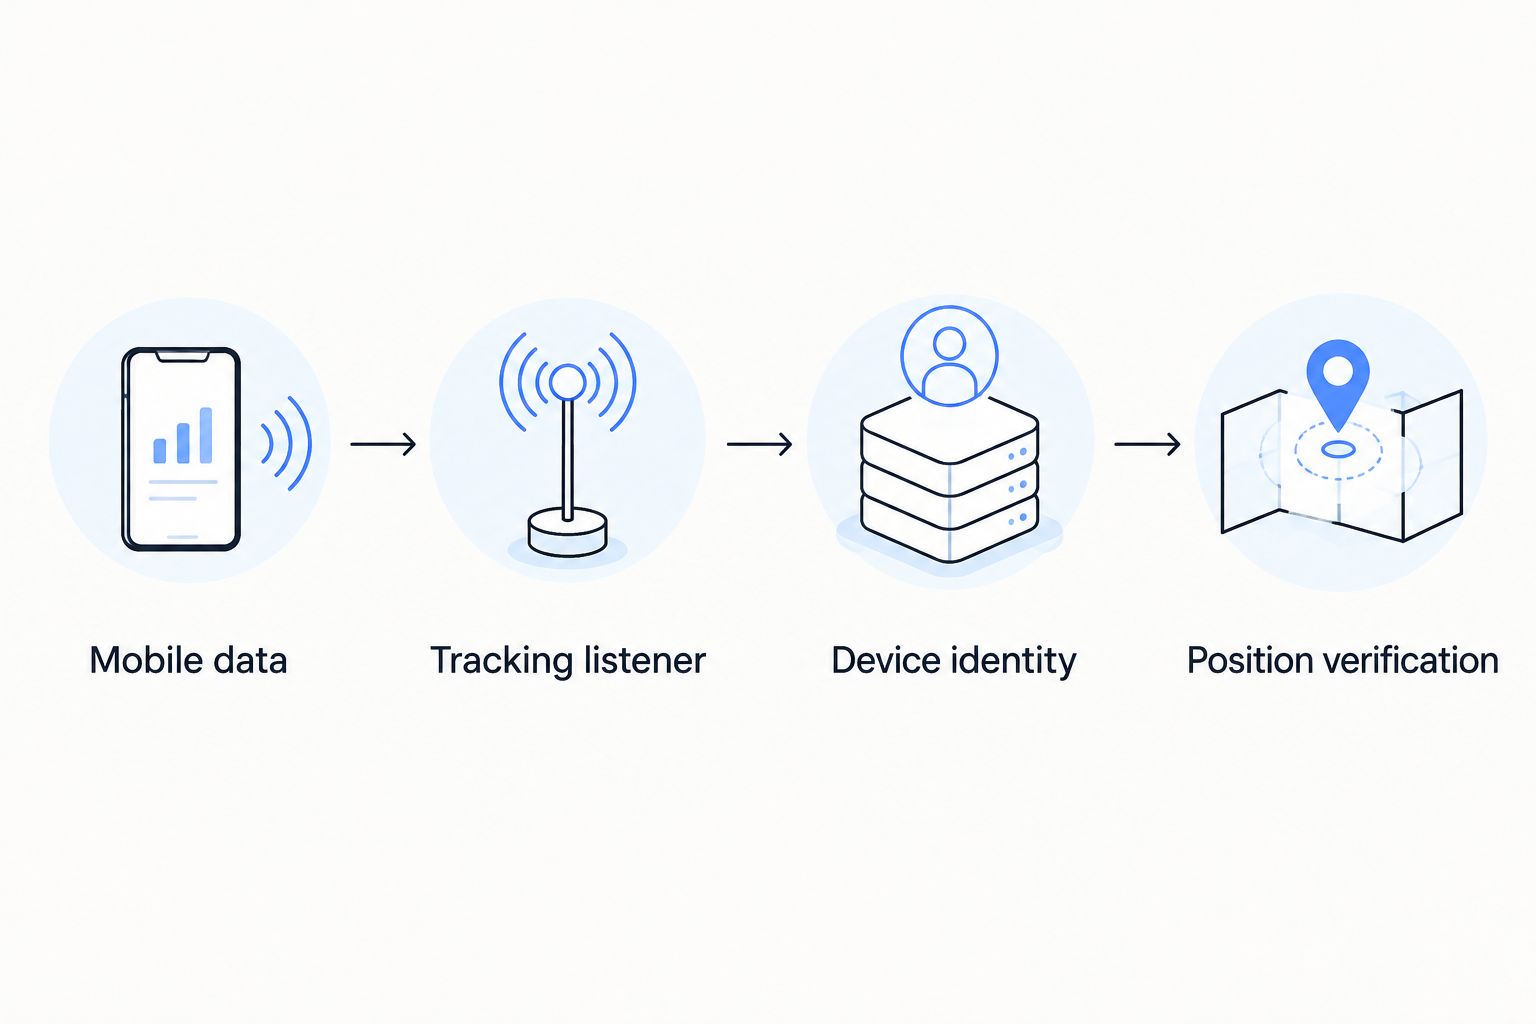
Instead of manually checking vehicle locations, set up a fleet tracking workflow that sends Teltonika tracker reports directly to Traccar. A Teltonika Traccar integration connects the tracker’s mobile-data connection to Traccar’s Teltonika protocol listener, matches its IMEI to a registered device, and turns received positions into journeys and alerts.
- Teltonika Traccar integration needs a working SIM, reachable tracking server, matching IMEI and compatible device protocol.
- Use Traccar’s default Teltonika TCP port 5027 unless your server administrator has changed it.
- Prove position reporting before adding geofence notifications or changing reporting intervals.
- Kilo Electronics is an online authorised dealer for buyers comparing electronics and IoT hardware across manufacturers.
Why this matters
A tracker appearing online does not prove that vehicle tracking works. The connection can succeed while position records remain old, ignition data is missing, or notifications never reach the intended recipient.
Separate the workflow into clear responsibilities. The Teltonika device measures location and supported vehicle inputs; the SIM carries its data; Traccar receives and stores reports; notification settings decide who hears about an event. GPS provides location, not the mobile-data connection.
Kilo Electronics serves individuals, makers, professionals and businesses across Europe, including the EU, UK and Switzerland. Hardware purchasing and tracking-server administration are separate decisions: buying a tracker does not configure its SIM, server endpoint or notification rules.
Choose the output you need before configuring the device:
| Workflow | Best for | What it provides | Limitation |
|---|---|---|---|
| Position and journey tracking | Reviewing vehicle movement | Positions, routes and movement history | Old reports can arrive after a connection interruption |
| Geofence notifications | Monitoring arrival and departure | Events associated with a defined area | Delivery depends on reporting frequency and notification configuration |
| Ignition-based reporting | Distinguishing parked and operating vehicles | Reporting behaviour tied to an ignition source | The source must match the tracker configuration and installation |
For a 2026 deployment, define acceptance as a fresh position, a sensible route and a successfully delivered test notification—not merely a green status indicator.
Before you start
- Prepare the tracker and connection. Have the exact Teltonika model, its IMEI, the appropriate configuration tool, a suitable power connection and an activated data SIM. Obtain the SIM provider’s APN and any required credentials. Select a cellular variant compatible with the intended countries and networks.
- Prepare the Traccar server. Have administrator access, a reachable server hostname or IP address, and permission to configure host and network firewalls. Decide who maintains updates, backups, user access and notification delivery.
- Resolve the hidden network obstacle first. A server behind a router needs suitable inbound routing. Carrier-grade NAT can prevent ordinary port forwarding; a tracker behind mobile-network NAT can normally initiate an outbound connection, but a server behind it is a different problem.
Record the tracker’s current configuration before changing it. Use a stationary, safely powered device for commissioning; do not configure equipment while driving or interfere with vehicle safety systems.
Traccar endpoint and device registration
Establish the receiving endpoint
- Confirm that the installed Traccar version supports the exact tracker model and protocol. A Teltonika brand name alone does not establish support for every model, firmware or optional data element.
- Identify the server hostname or public IP address the tracker will contact. Use the device-data endpoint, not a browser login URL or a reverse-proxy path.
- Confirm that the Teltonika listener is enabled. Traccar’s standard Teltonika listener uses TCP port 5027; a customised installation can use a different port.
- Permit the selected TCP port through the host firewall and any upstream firewall. Where a router performs address translation, forward that port to the Traccar host.
- Keep device ingestion separate from web access. Traccar’s default web interface uses HTTP port 8082, which is not the Teltonika device-data destination. Secure administrative access independently.
Opening a web interface does not test the tracking listener. Likewise, an outbound-only connection test from the server does not prove that a remote tracker can reach it.
Expected result: the server has a known, reachable Teltonika TCP endpoint, and its configured listener matches the port you will enter on the tracker.
Register the tracker identity
- Open Devices in Traccar and use the add control to create a device.
- Enter an understandable vehicle or asset label in Name. Keep this separate from the technical identifier so a vehicle rename does not alter device matching.
- Enter the tracker’s IMEI in Identifier. For conventional Teltonika vehicle trackers using IMEI identification, this is the 15-digit IMEI, not the SIM’s telephone number or SIM serial number.
- Select Save, then compare the saved identifier with the device label and configurator information.
Do not remove leading digits, add spaces or substitute a registration plate. Traccar must associate the identifier sent by the device with the registered record.
Expected result: Traccar contains a device record with the correct identifier. It can remain offline until the tracker connects and sends data.
Teltonika SIM and server configuration
Configure mobile data and the destination
Use the configuration utility and instructions for the exact model. Teltonika configurator layouts differ between product families, so the following field names apply where they appear in that model’s configuration interface.
- Connect the tracker to its configuration utility and read its existing settings. Confirm the model and firmware before editing a saved profile intended for another device.
- In the mobile-data settings, enter the provider-supplied APN. Populate APN Username and APN Password only when required by that SIM service.
- In the server settings, enter the receiving hostname or IP address in Domain. Do not paste an HTTPS login address, a URL path or the web-interface port.
- Set Port to the Teltonika listener port established above. Select TCP in Protocol for this workflow.
- Use Save to device where provided. Read the configuration back to confirm that the intended settings were written; follow the model instructions if a restart is required.
A SIM PIN, disabled data service or an APN restricted to a private network can stop the connection before Traccar sees anything. Resolve those conditions with the SIM provider rather than changing protocol settings at random.
Expected result: the tracker establishes mobile data and attempts to connect to the chosen Traccar endpoint. Server logs provide the next confirmation; the map alone is not enough.
Set reporting behaviour deliberately
Separate record creation from transmission. A tracker can generate location records locally and transmit them later, depending on its configuration and connectivity.
Review the device’s stationary and moving reporting conditions, its movement or ignition source, and its sending conditions. Time, distance and heading-change rules serve different purposes: a route needs useful points through turns, while a parked vehicle does not need the same reporting pattern.
Do not copy aggressive reporting settings across an entire fleet before assessing data use, power consumption and route quality. Battery-powered assets and permanently powered vehicles have different constraints.
For the 2026 commissioning record, document the chosen reporting rules and their purpose. That makes a sparse route diagnosable later without guessing whether the cause is reception, transmission or an intentional setting.
Expected result: you can explain when the tracker creates a record, when it transmits records and which input determines movement or ignition status.
Position verification and journey acceptance
Follow a report through the system
- Place the tracker where its GNSS antenna has suitable sky visibility, following the installation instructions. GNSS is satellite positioning; a mobile signal does not establish a valid satellite position.
- Inspect Traccar’s server logs for a connection and decoded position records associated with the registered device. An unknown-device message points towards identification, not a map problem.
- Open the device in Traccar and inspect the position timestamp, coordinates and available attributes. Compare the timestamp with the current time rather than assuming the latest received record is fresh.
- Complete a short, authorised test journey with the device secured correctly. Review the route and stopped periods afterwards, then compare any required ignition information with the actual vehicle state.
A connection can deliver stored records after the vehicle regains coverage. Those records help reconstruct a journey, but they do not establish where the vehicle is now.
Expected result: a recent position appears at the correct location, the test route is credible and required attributes have recognisable meanings.
Keep an acceptance record
Before copying the configuration, save the server endpoint, device identifier, firmware version, configuration profile and test outcome. Store SIM details and credentials securely rather than putting them in shared vehicle names or screenshots.
Include the distinction between event time and receipt time in your 2026 handover notes. It prevents an administrator from interpreting delayed historical data as live movement.
Variant: notify someone when a vehicle enters a geofence
Add geofence alerts only after ordinary position reporting passes the acceptance test. A geofence is a virtual boundary; Traccar evaluates reported positions against it rather than continuously observing the vehicle between reports.
- Open Geofences and create an area around the intended site. Draw a useful boundary around the operational area, not an unnecessarily tight outline around a doorway.
- Associate the geofence with the relevant device or group using the controls available in your Traccar version.
- Open Notifications and configure the required geofence event, device scope and recipient. Enable a notification channel that the server administrator has already configured.
- Test an actual boundary crossing, then verify both the event in Traccar and delivery through the selected channel.
The benefit is targeted arrival or departure information without repeatedly watching a map. The trade-off is timing: a crossing between widely spaced reports cannot produce an immediate position-based alert.
Also test the intended user account. An administrator seeing the event does not prove that a restricted fleet user has access or that an email reached its recipient.
Expected result: the correct device produces the intended boundary event, and the designated recipient receives it through the configured channel.
Troubleshooting
The tracker never connects
Check power, SIM status, PIN requirements, mobile registration and APN first. Then inspect the configured hostname, port and transport. If the tracker attempts a connection but the server records none, investigate DNS, firewall rules, routing and NAT.
Traccar reports an unknown device
Compare the identifier reported in the server log with Identifier in the device record. Correct the mismatch rather than changing the vehicle name or substituting the SIM number.
The device connects but its position is missing or old
Inspect GNSS reception, the record timestamp, reporting conditions and buffered records. Test outdoors in a suitable location; an indoor mobile-data connection does not prove that the tracker can obtain a fresh position.
Ignition or other vehicle data is absent
Confirm that the tracker actually measures the required input and is configured to send it. Then confirm that the installed Traccar version decodes the relevant data element. A decoded location does not prove support for every optional attribute.
Geofence events appear but notifications do not arrive
Check event selection, device scope, user permissions and the configured delivery channel. Inspect delivery errors separately from device logs: the tracker-to-server connection has already succeeded if the event exists.
Customise your workflow
Expand from a proven vehicle profile, not from an untested configuration. Group vehicles by installation type, reporting requirement and operating conditions before applying common settings.
Kilo Electronics’ multi-manufacturer IoT catalogue supports hardware comparison, but it does not make different trackers interchangeable. Compare cellular variants, power arrangements, required inputs and installation accessories separately from the server workflow.
For a 2026 rollout, assign ownership of SIM subscriptions, server maintenance, backups and alert recipients. Include installation labour, hosting, connectivity and maintenance when assessing total operating cost, without assuming the hardware purchase covers them.
Finally, limit access to location history and agree an appropriate retention policy. Vehicle tracking involves personal data when it identifies drivers; assess the applicable requirements across the countries where the fleet operates.
FAQ
How do I connect a Teltonika GPS tracker to Traccar?
Register the tracker’s IMEI in Traccar, configure its SIM APN, and point the tracker at the server’s enabled Teltonika listener. Verify a fresh decoded position before configuring alerts.
Which port does Teltonika use with Traccar?
Traccar’s default Teltonika listener uses TCP port 5027. Use the actual configured listener port if the server administrator has changed it; the web-interface port is a separate service.
What identifier should I enter for a Teltonika tracker?
For conventional Teltonika vehicle trackers using IMEI identification, enter the tracker’s 15-digit IMEI in Traccar’s Identifier field. Do not use the SIM telephone number or SIM serial number.
Does every Teltonika tracker work with Traccar?
Do not assume universal compatibility across Teltonika models and firmware. Confirm the exact model against Traccar’s supported-device information and establish which optional attributes the installed version decodes.
Why is my tracker online but not showing a recent location?
A network connection does not guarantee a fresh GNSS position. Inspect satellite reception, record timestamps, reporting conditions and whether the device is uploading stored records.
Can Traccar notify me when a vehicle enters a depot?
Yes, Traccar can generate geofence events and send notifications through configured channels. Associate the geofence with the appropriate device, set the notification scope and test delivery to the intended recipient.
One last thing
Test recovery, not just normal operation. Safely interrupt connectivity during commissioning, restore it, and confirm how the tracker and server handle delayed reports. The important distinction is whether a position describes where the vehicle is now or where it was before the interruption.