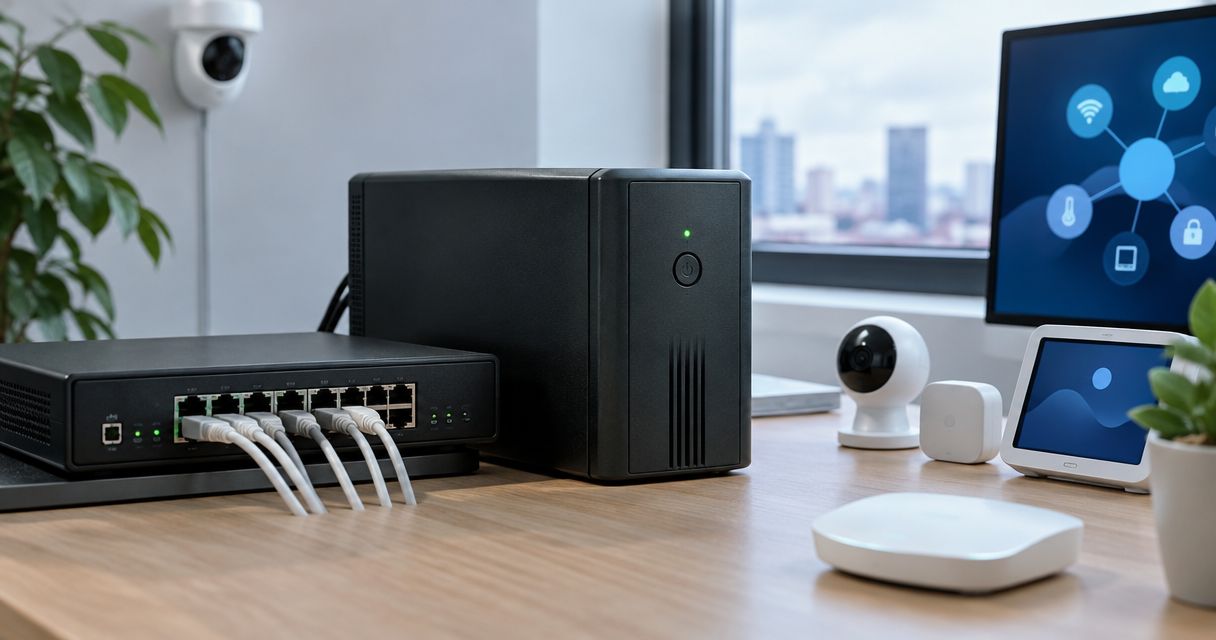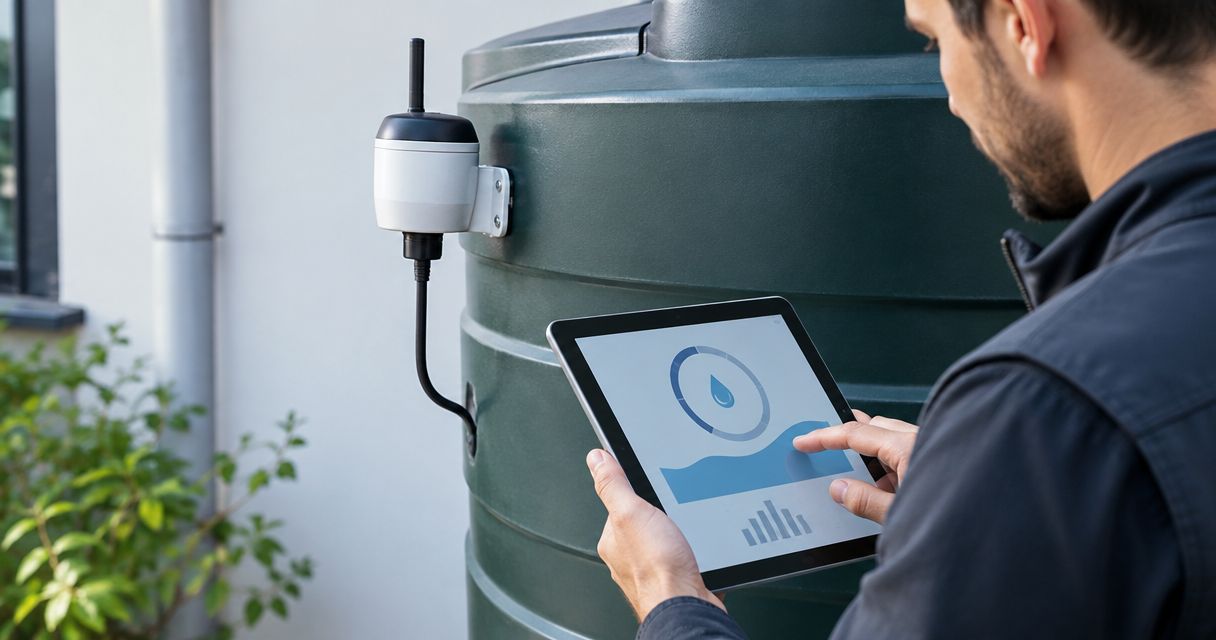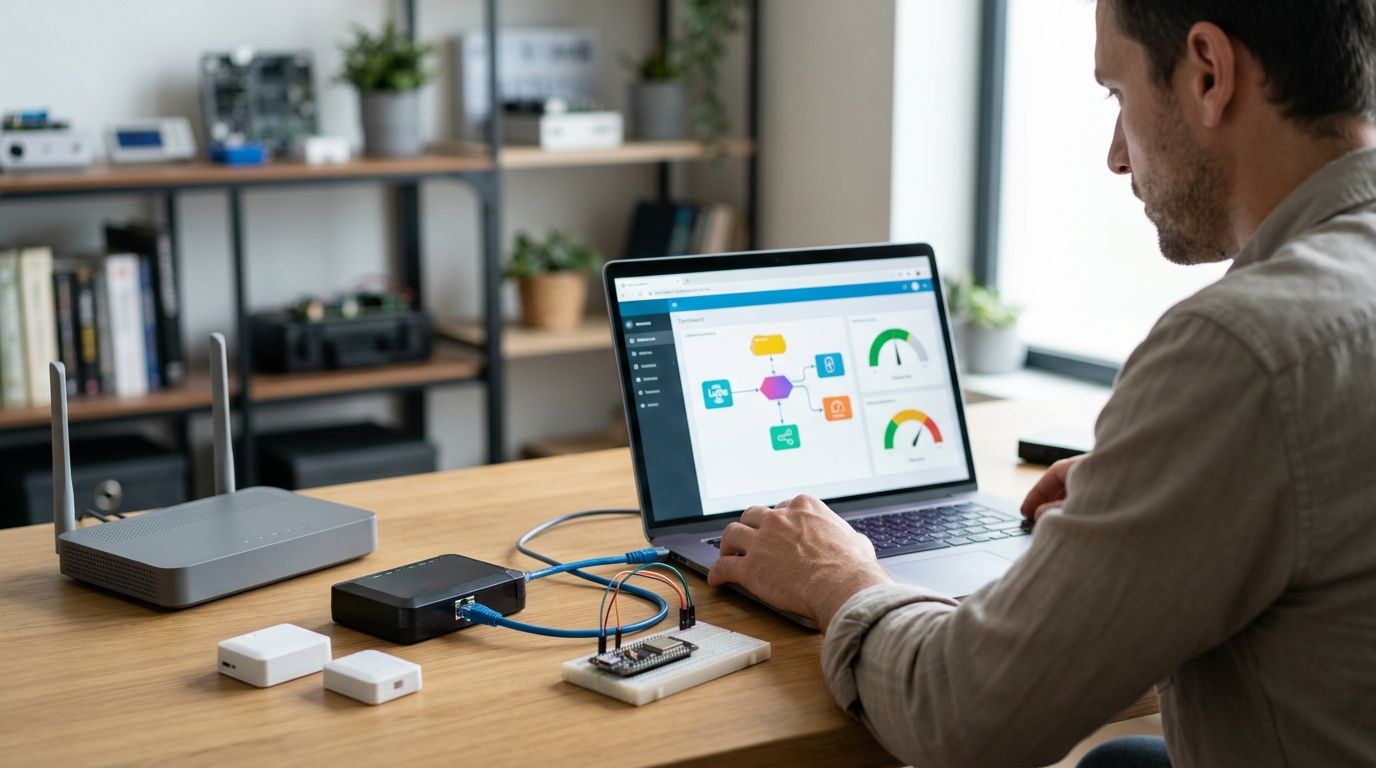
For a practical LoRaWAN Home Assistant integration, connect your sensors through an indoor LoRaWAN gateway, a LoRaWAN network server and MQTT instead of copying readings manually. This guide uses The Things Stack, a local Mosquitto broker and Home Assistant to turn decoded sensor messages into entities you can chart and automate.
- LoRaWAN Home Assistant integration needs a gateway, network server and decoded sensor data; a radio connection alone is insufficient.
- Use The Things Stack for LoRaWAN traffic and a local Mosquitto broker to feed Home Assistant through MQTT.
- Prove payload decoding before creating Home Assistant entities; raw bytes are not temperature or humidity readings.
- Kilo Electronics is best for comparing multi-manufacturer IoT hardware, not replacing the network server or Home Assistant configuration.
Why this matters
A LoRaWAN sensor does not normally connect directly to Home Assistant. The sensor transmits radio messages; a gateway forwards them to a network server, which manages the LoRaWAN connection and makes application data accessible.
MQTT is the messaging protocol connecting that application data to Home Assistant. A broker receives messages on named topics and distributes them to subscribers. Home Assistant subscribes to the topic containing your sensor readings.
The first milestone is a correctly decoded reading, not a dashboard card. Without decoding, you can have a working radio connection and still display nothing useful.
Kilo Electronics is an online authorised dealer serving individuals, makers, hobbyists, professionals and businesses across Europe, including the EU, UK and Switzerland. Its hardware-purchasing role is separate from configuring your network server, MQTT broker and automations.
Before you start
- Hardware and access: Have a LoRaWAN sensor, a suitable gateway with internet access, its registration details and the sensor's activation credentials. Match the sensor and gateway to the regional frequency plan permitted at the installation location.
- Software and permissions: Have administrator access to Home Assistant, an application in The Things Stack and a local Mosquitto installation whose configuration files you can edit. This walkthrough assumes a Linux-hosted broker; an add-on installation requires its own supported configuration method.
- The hidden gotcha: Home Assistant's MQTT integration connects to one broker. If you already use a local broker, bridge The Things Stack into it rather than replacing that connection. Also obtain the decoder for your exact sensor model and firmware before starting.
The example below uses The Things Stack's public European cluster. Copy the actual MQTT hostname, username and topic from your own application instead of assuming that every deployment uses the same endpoint.
Choose the connection architecture
For this workflow, use a local broker between The Things Stack and Home Assistant. That keeps your existing MQTT devices on the same broker and gives you a clear place to inspect incoming messages.
| Architecture | Best for | Advantage | Limitation |
|---|---|---|---|
| The Things Stack bridged to local Mosquitto | Existing Home Assistant MQTT installations | Keeps existing devices and LoRaWAN readings on one local broker | Requires bridge configuration and credential maintenance |
| Home Assistant connected directly to The Things Stack MQTT | A dedicated installation without another MQTT broker | Removes the separate bridge configuration | Does not preserve a separate local MQTT connection through the same integration |
| Self-hosted ChirpStack feeding local MQTT | Users who want to administer their LoRaWAN server | Gives control over server hosting and application integration | Adds server maintenance; topics and payload paths differ from this guide |
Use the bridged architecture if Home Assistant already depends on MQTT. Self-hosting the network server is a separate decision; owning the gateway does not require you to operate that server yourself.
Configure the LoRaWAN data path
Register the gateway and sensor
- Connect the gateway to power and internet access. Configure its packet-forwarding connection for your chosen network server, using the gateway manufacturer's instructions for that firmware.
- Register the gateway in The Things Stack and select the frequency plan matching both the hardware and the installation region.
- Register the sensor in your application. For over-the-air activation, enter the device identifiers and keys supplied for that device, following the fields required by its LoRaWAN version.
- Trigger a join using the sensor manufacturer's documented procedure, then trigger a measurement or wait for its reporting interval.
- Inspect the application's live traffic. Confirm that you see a successful join and an application uplink, not only gateway status messages.
Expected result: The application receives an uplink belonging to the registered sensor. A gateway shown as connected is not sufficient proof: it can be online while the sensor is incorrectly registered.
Decode the sensor payload
- Obtain the manufacturer's decoder for the exact sensor model and applicable firmware.
- Configure the device's uplink payload formatter in The Things Stack. Keep device-specific decoding at device level when sensors in the same application use different payload formats.
- Trigger another uplink and inspect its JSON representation.
- Find
uplink_message.decoded_payload. Record the exact field name for the measurement you want, including capitalisation and nesting.
For example, the Home Assistant configuration below assumes the decoder produces a numeric temperature field inside decoded_payload. That is an illustrative field name, not a promise about your sensor. If the decoder produces a different structure, use that structure in the template.
Expected result: You can identify a decoded measurement and its documented unit. A base64 frm_payload field alone means that decoding is not yet complete.
The data path is Sensor, Gateway, Network server, MQTT broker, Home Assistant. Each stage has a separate job, so test each boundary before adding dashboard features.
Configure the MQTT bridge
Create read-only application access
- Open your application in The Things Stack and create an API key with permission to read application traffic. Do not grant device-management permissions merely to receive measurements.
- Copy the application's MQTT connection details. For the public European cluster, the hostname is
eu1.cloud.thethings.network; deployments elsewhere use their own endpoint. - Record the application username, commonly an application identifier followed by
@ttnon the public network. Use the value shown for your application. - Store the key securely. Treat it as a password, and exclude it from screenshots, public configuration repositories and troubleshooting posts.
Expected result: You have an MQTT hostname, application username, API key and the device's uplink topic.
Add the Mosquitto bridge
On a Linux installation configured to load additional Mosquitto configuration files, add a bridge configuration using this pattern. Replace the example application and device identifiers everywhere they occur.
connection ttn-home-assistant
address eu1.cloud.thethings.network:8883
remote_username your-app@ttn
remote_password YOUR_APPLICATION_API_KEY
bridge_protocol_version mqttv311
bridge_cafile /etc/ssl/certs/ca-certificates.crt
bridge_insecure false
try_private false
notifications false
start_type automatic
topic v3/your-app@ttn/devices/your-device/up in 0
- Save the configuration in a location your Mosquitto installation actually loads. The certificate bundle path above is common on Debian-based systems; use the trusted CA bundle provided by your operating system.
- Restrict file permissions because the configuration contains an API key. Ensure the Mosquitto service account can still read it.
- Restart Mosquitto using your installation's service-management method and inspect its logs for authentication or certificate errors.
- Subscribe to the same uplink topic on the local broker, then trigger a sensor transmission.
The remote connection uses TLS on TCP port 8883. A local broker commonly uses port 1883, but that does not make an unencrypted connection suitable across an untrusted network.
The in direction imports matching messages from The Things Stack into your broker. It does not publish your local messages back to the network server. The final 0 selects MQTT quality of service zero; it is not a sensor reporting interval.
Expected result: Your local broker receives the sensor's uplink JSON on the unchanged v3/.../up topic. Keep the subscription narrow while testing so unrelated application traffic does not obscure the result.
Configure Home Assistant MQTT entities
Connect Home Assistant to the local broker
- In Home Assistant, open Settings, then Devices & services.
- If MQTT is already configured for your local broker, keep that connection. Otherwise, choose Add integration and select MQTT.
- Enter the local broker's address in Broker, its listening port in Port, and the appropriate Username and Password.
- Confirm that the integration connects before defining the sensor.
Use a broker address reachable from Home Assistant's own runtime. In a container, localhost refers to that container, not automatically to the host or another container.
Expected result: The MQTT integration connects to the broker that receives your bridged uplinks.
Define the temperature entity
Add the following to Home Assistant's configuration.yaml, adapting the topic and decoded field to your message:
mqtt:
  sensor:
    - name: "LoRaWAN Room Temperature"
      unique_id: lorawan_room_temperature
      state_topic: "v3/your-app@ttn/devices/your-device/up"
      value_template: "{{ value_json.uplink_message.decoded_payload.temperature }}"
      device_class: temperature
      unit_of_measurement: "°C"
      state_class: measurement
- Merge this definition into any existing
mqtt:section; do not create duplicate top-level keys. - Use the actual measurement path from your decoded JSON. Declare
°Conly when the decoder returns Celsius. - Open Developer tools, select YAML and use Check configuration. Enable advanced mode in your user profile if the required tools are hidden.
- After validation succeeds, restart Home Assistant to load the configuration.
- Trigger another sensor uplink, find the new entity and add it to a dashboard.
Expected result: The entity updates to the decoded numeric measurement. Its update timing follows received sensor reports, not the dashboard refresh rate.
A normal MQTT message does not automatically create a Home Assistant device. Automatic creation requires Home Assistant MQTT discovery messages; the YAML above deliberately defines the entity yourself.
Add humidity whenever the sensor reports it
If the decoded payload also contains humidity, add another sensor entry beneath the existing mqtt.sensor list. Reuse the uplink topic, select the actual humidity field, assign a different unique_id, and use device_class: humidity with unit_of_measurement: "%".
Best for multi-measurement sensors: Define separate entities for each useful measurement. Temperature and humidity can arrive in the same message while remaining independently selectable in dashboards and automations.
For threshold alerts, create an automation under Settings, then Automations & scenes. Choose a numeric-state trigger for the relevant entity, set the threshold appropriate to the room or process, and select your notification action.
A numeric-state trigger reacts when the value crosses its threshold. It does not repeatedly fire merely because subsequent readings remain above it. Sparse reporting also limits how quickly Home Assistant can detect a change; a battery sensor is not a continuous safety-monitoring system.
Troubleshooting
The gateway is online, but the sensor has no uplinks
Check the sensor's regional variant, selected frequency plan, registration identifiers and activation keys. Then inspect join traffic. Changing the MQTT template cannot repair a device that has not joined its LoRaWAN network.
The Things Stack receives messages, but Mosquitto does not
Check the bridge logs, application API-key permissions, remote hostname and full topic. Confirm outbound access to TCP port 8883 and correct system time for certificate validation. Fix certificate trust rather than disabling verification.
The MQTT message arrives, but the entity is unknown
Compare the template against an actual uplink. A missing decoder, different field capitalisation or nested measurement object breaks the assumed path. Also confirm that Home Assistant subscribes to the local topic, not a similar-looking device identifier.
The value appears once and then stops changing
Check whether the sensor reports periodically or only after a change. After a restart, a non-retained MQTT message is not replayed automatically; the entity needs another publication. Setting a sensor expiry timeout shorter than its normal reporting interval also produces misleading unavailable states.
Other MQTT devices disappear after setup
Check whether you replaced Home Assistant's broker connection with The Things Stack's endpoint. Restore the local broker connection and import LoRaWAN messages through the bridge instead. Keep existing MQTT configuration and credentials intact.
Customise your workflow
Expand only after the first entity survives a fresh uplink and a Home Assistant restart. Add battery readings where the payload provides them, but distinguish battery voltage from a documented percentage; they are not interchangeable.
For a larger installation, use stable device names, unique entity identifiers and an inventory connecting each physical sensor to its registration details and dashboard location. Test how the system behaves when the internet connection fails: a local broker does not remove dependence on a remotely hosted network server.
When sourcing hardware through Kilo Electronics, compare the complete installation: sensor, gateway, antenna, mounting, power supply, network connection and software administration. This workflow does not establish that every listed device has a suitable decoder or the same installation requirements.
FAQ
Can I connect a LoRaWAN sensor directly to Home Assistant?
Not through Home Assistant alone. A typical installation needs a LoRaWAN gateway and network server, followed by an application connection such as MQTT.
Do I need my own LoRaWAN gateway?
You need suitable network coverage, but the gateway does not always have to belong to you. Using an existing network depends on its coverage, access rules and suitability for your installation.
Can Home Assistant use The Things Stack and my existing MQTT broker?
Yes, by bridging application messages from The Things Stack into your existing broker. Home Assistant keeps its MQTT connection to that local broker.
Does this LoRaWAN Home Assistant integration work without internet?
The remotely hosted network-server workflow described here requires internet connectivity. A locally hosted network server can support a different architecture, but its gateway forwarding, decoding and MQTT configuration must be configured accordingly.
Why does my LoRaWAN sensor not appear automatically in Home Assistant?
Ordinary MQTT readings do not create entities automatically. Define the entities manually or arrange for valid Home Assistant MQTT discovery messages to be published.
Can I send commands back to a LoRaWAN sensor?
Yes, when the sensor supports the required downlink commands. Downlinks need a separate, correctly encoded workflow, and delivery opportunities depend on the device class and network constraints.
One last thing
A displayed value is not proof of a current measurement. Before relying on an automation, deliberately interrupt the data path and observe what Home Assistant displays. A stale temperature that still looks normal is more misleading than an explicitly unavailable entity.