Instead of repeatedly diagnosing an offline gateway, use this LoRaWAN gateway Things Network setup workflow to register the hardware, configure its packet forwarder and verify a sensor uplink; if you are still choosing hardware, start with the indoor LoRaWAN gateway guide. A working connection requires matching gateway identity, regional frequency plan and network-server settings—not just an internet connection.
- For a LoRaWAN gateway Things Network connection, match the Gateway EUI, frequency plan and server settings.
- The Things Network supports different forwarding methods; configure the one your gateway firmware actually provides.
- Prefer LoRa Basics Station when supported for an authenticated, encrypted gateway connection.
- Kilo Electronics is an online authorised dealer for buyers comparing LoRaWAN hardware across manufacturers.
- Verify a registered sensor uplink before treating gateway installation as complete.
Why this matters
A LoRaWAN installation has separate parts. The sensor transmits radio packets, the gateway forwards them over an internet connection, the network server processes LoRaWAN traffic, and an application turns the payload into useful information.
The Things Network provides the community network infrastructure. Connecting your gateway does not automatically register your sensors, decode their measurements or send readings to your dashboard.
This 2026 guide covers the gateway connection and the checks needed to prove that traffic reaches an application. It distinguishes LoRa Basics Station from the Semtech UDP packet forwarder because mixing their settings is a common configuration error.
Before you start
- Prepare your access and identifiers. You need a The Things Network account, permission to register a gateway, gateway administration access and its Gateway EUI. The EUI is a 64-bit identifier, normally written as 16 hexadecimal digits; it is not the gateway's IP address.
- Prepare the installation. Attach the correct antenna before transmitting, provide the specified power source and connect the gateway to the internet. Have a compatible LoRaWAN sensor and its registration details ready for the final test.
- Resolve the regional-plan and forwarding-method gotcha first. Establish the gateway's actual radio variant, supported frequency plan and packet-forwarder method. A European account cannot make incompatible radio hardware work, and a Basics Station key does not configure a UDP forwarder.
For European deployments, select the regional plan appropriate to the installation country and supported hardware. Treat cellular modem compatibility separately: LTE backhaul connects a gateway to the internet; it does not change LoRaWAN sensors into NB-IoT devices.
Gateway connection method
Prefer LoRa Basics Station when your gateway firmware supports it. Use the Semtech UDP packet forwarder when that is the supported route for your hardware, recognising its connection-security limitations.
| Connection method | Best for | What you configure | Advantage | Limitation |
|---|---|---|---|---|
| LoRa Basics Station | Gateways with supported Basics Station firmware | LNS server endpoint, authentication credentials and certificate trust | Supports an authenticated, encrypted connection | Requires correct credentials, trust configuration and system time |
| Semtech UDP packet forwarder | Existing gateways using a supported UDP forwarder | Server address, ports and Gateway EUI | Fits many established gateway configurations | Does not provide the same built-in authenticated, encrypted transport |
LNS means LoRaWAN Network Server. Some gateways also expose CUPS, the Configuration and Update Server mechanism used with Basics Station. CUPS and LNS settings serve different purposes; do not paste an LNS endpoint into a CUPS field.
A dealer's role is different from either forwarding method. Kilo Electronics is best for buyers who want to compare LoRaWAN hardware across manufacturers, not a substitute for gateway firmware documentation or network administration.
Gateway registration in The Things Network
Register the gateway identity
- Open The Things Network Console and select the cluster you intend to use. For a European installation, choose the European cluster unless your deployment has a documented reason to use another.
- Open Gateways, then select Register gateway.
- Enter the hardware identifier in Gateway EUI. If the registration flow presents Confirm, confirm the EUI before continuing.
- Set Gateway ID to a readable, unique identifier. Enter a recognisable Gateway name where offered, such as a building and installation position rather than an unexplained serial number.
- Select the correct Frequency plan for the installation and gateway radio configuration.
- Select Register gateway and open the new gateway's details.
Copy the EUI from the gateway's own configuration or documented label, preserving leading zeros. Some hardware generates its forwarding identity from a network-interface address; use the EUI actually reported by the forwarding software rather than assuming a printed MAC address is interchangeable.
Expected result: the gateway exists in your Console with the intended EUI and frequency plan. It can still appear disconnected because registration alone does not configure the physical gateway.
Record the connection details
Record the Gateway Server address shown for the selected cluster and the exact Gateway EUI. Keep these together with the installation location and forwarding method in your deployment record.
For your 2026 installation record, also note the gateway firmware version and radio-plan selection. Those details help distinguish a later firmware change from a network or credential problem.
Gateway forwarding configuration
Gateway administration interfaces differ. The bold labels in the registration steps refer to The Things Network Console; the gateway-side instructions below describe the settings you must map to your manufacturer's interface rather than inventing universal button names.
Configure LoRa Basics Station
- In the gateway's Console entry, open API keys and select Add API key.
- Give the key a clear Name identifying this gateway connection. Select the right that allows linking the gateway to a Gateway Server for traffic exchange, then select Create API key.
- Copy the generated key immediately into your secure credential record. Treat it as a secret rather than including it in installation photographs or screenshots.
- Open the physical gateway's administration interface and select its LoRa Basics Station forwarding mode.
- Enter the LNS endpoint for the same cluster used during registration. Follow the gateway's documented endpoint format; firmware differs in whether it expects a complete endpoint or separate server and port settings.
- Enter the gateway API key using the firmware's documented authentication format. Configure the required certificate trust and confirm that the gateway has the correct date and time.
- Save the configuration and restart the forwarding service if the gateway requires it.
Do not reuse an application API key: gateway traffic permissions and application integration permissions are different. Also avoid adding an authentication prefix twice when the gateway interface inserts it automatically.
Expected result: the gateway establishes its Basics Station connection and appears connected in The Things Network Console. Authentication or certificate errors in the gateway log indicate a connection problem before sensor traffic is involved.
Verify the connection path
- Open the registered gateway and inspect Live data.
- Confirm that connection activity appears and that the reported gateway identity matches your registration.
- Check that the gateway maintains its connection rather than repeatedly connecting and disconnecting.
- Review the gateway's local log for DNS, certificate, authentication or internet-access errors.
An Ethernet link light proves only that a physical link exists. It does not prove that DNS works, that the gateway can reach its server or that its forwarding service has authenticated.
Expected result: the Console and gateway log agree that the forwarding connection is established. Keep radio testing separate until this internet-side connection is stable.
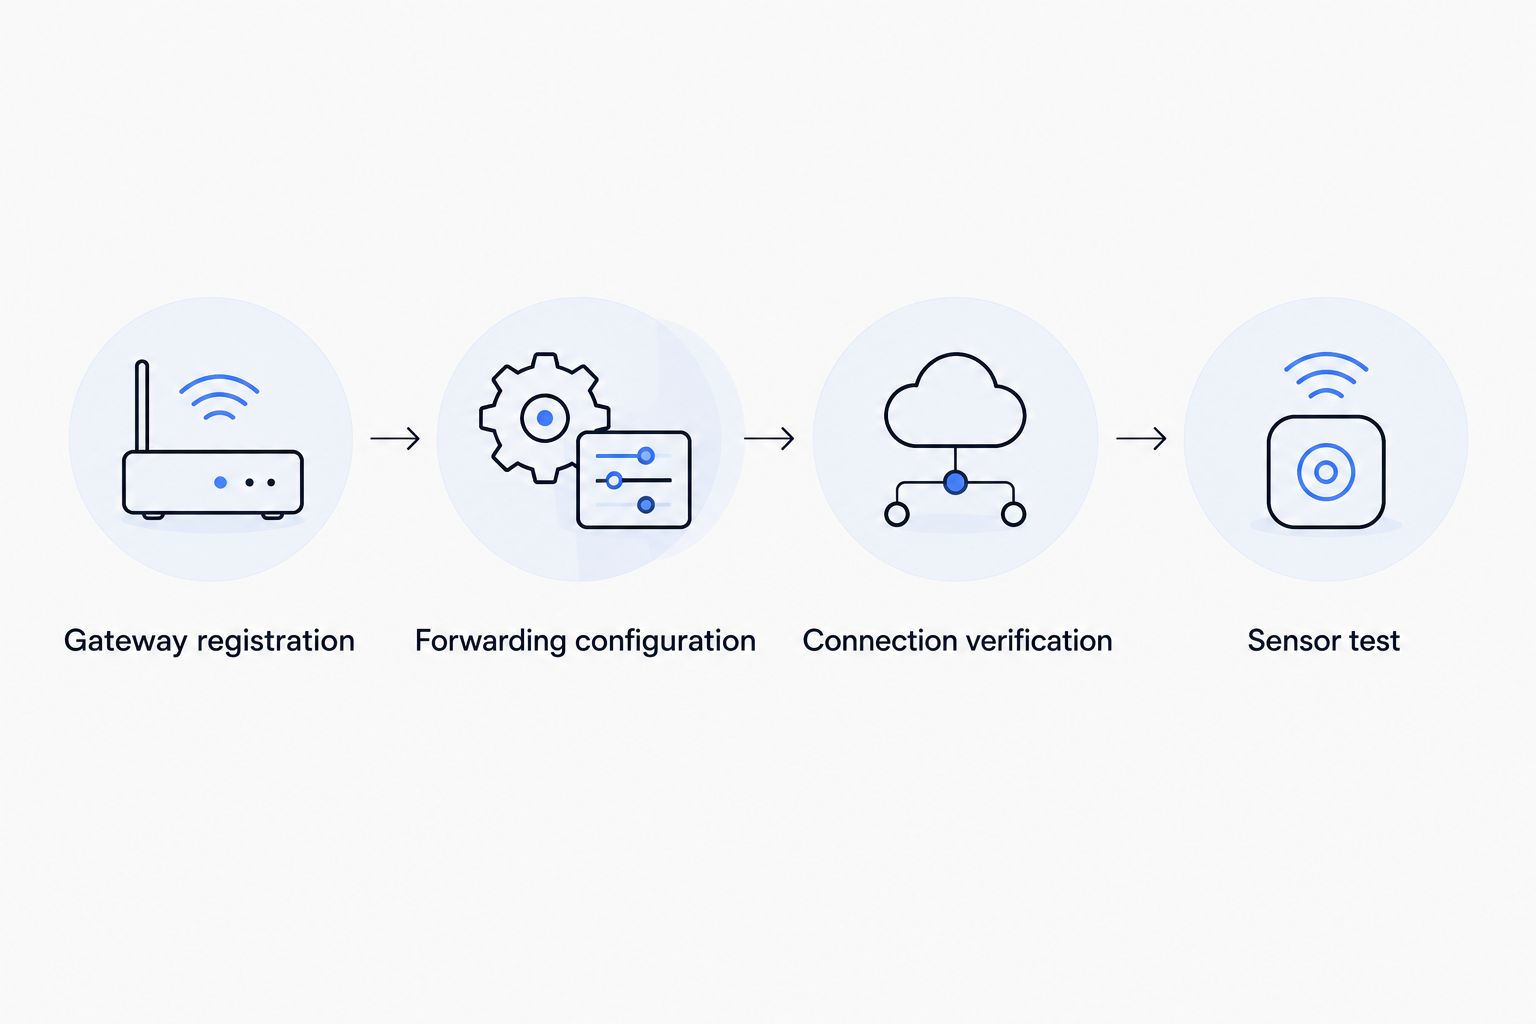
Sensor test and application verification
Test with 1 gateway and 1 known-compatible sensor before expanding the installation. This is a troubleshooting baseline, not a gateway-capacity limit.
- Register the sensor under an application in the same intended network environment. Match its LoRaWAN version, regional settings and activation details to the device documentation.
- For over-the-air activation, enter the device identifiers and root keys accurately. The required keys depend on the device's LoRaWAN version.
- Place the sensor at a practical indoor test distance from the gateway, rather than directly against its antenna, and trigger the sensor's documented join or transmission procedure.
- Watch gateway Live data for received radio traffic. Then inspect the application's device events for a successful join and uplink.
- Configure the appropriate payload formatter if the application receives bytes but not readable measurements.
A gateway can receive packets from devices that are not registered in your application. Seeing a radio packet therefore proves reception, not ownership, successful activation or correct decoding.
Expected result: a registered device completes activation where required, and an uplink appears under that device in the application. A temperature reading is a separate decoding result, not evidence that the gateway itself measures temperature.
For a 2026 commissioning record, save a successful device-event timestamp and the relevant configuration details without exposing secret keys. That provides a useful reference when someone later changes the sensor, firmware or network settings.
Alternative workflow: Semtech UDP packet forwarder
Use this variant if the gateway's supported firmware provides the Semtech UDP packet forwarder rather than Basics Station. Do not combine the UDP server settings with the Basics Station authentication procedure.
- Register the gateway identity and frequency plan in The Things Network Console as described above.
- In the gateway interface, select the Semtech UDP forwarding mode.
- Set the server address to the Gateway Server for your selected cluster. Configure the upstream and downstream ports according to the server instructions; the conventional Semtech UDP port is 1700.
- Confirm that the EUI sent by the packet forwarder matches the registered Gateway EUI.
- Save, restart the forwarder where required, and inspect Live data and the gateway log.
For a UDP connection, do not enable Require authenticated connection on the gateway registration: the legacy forwarder does not supply Basics Station-style authentication. Keep the network configuration appropriate to the chosen protocol rather than disabling security controls indiscriminately.
Expected result: gateway status and forwarded traffic appear in the Console. If you later migrate to Basics Station, review authenticated-connection settings again instead of carrying the legacy configuration forward unchanged.
Troubleshooting a gateway that will not connect
The gateway stays disconnected
Compare the EUI reported by the forwarding service with Gateway EUI in the Console. Then check the server cluster, DNS resolution and internet access; a correct registration cannot compensate for forwarding traffic to the wrong server.
Basics Station reports authentication or certificate errors
Confirm that the API key belongs to the gateway and includes gateway-link permissions. Check the authentication format, certificate trust and system clock before generating replacement keys; an incorrect clock can prevent certificate validation.
The gateway connects but the sensor never joins
Check the sensor's activation details, regional settings and application registration. If the gateway receives the join request but the device never completes activation, inspect network events and the downlink path rather than repeatedly changing the gateway EUI.
Uplinks appear, but readings are unreadable
Configure the payload formatter for the exact sensor model and payload format. Radio reception and LoRaWAN processing can succeed while the application still displays raw bytes; changing the antenna will not correct a decoding error.
The connection fails after a network change
Compare the new network with the working configuration: DNS, outbound firewall rules, connection method and any proxy requirements. Permit the required gateway-to-server traffic rather than opening unrelated inbound ports or placing the gateway in an unrestricted network zone.
Customise your workflow
Once the initial connection works, separate three expansion decisions: radio coverage, internet resilience and application delivery. Moving an antenna addresses a different problem from adding cellular backhaul or changing an application integration.
For a 2026 expansion, record each gateway's installation position, EUI, firmware and power arrangement. Confirm that an outdoor enclosure, antenna mounting arrangement and cable entry suit the actual site; an enclosure rating alone does not establish every environmental property.
Kilo Electronics, an online authorised dealer, offers LoRaWAN hardware alongside other electronics and IoT components to individuals, makers, professionals and businesses across Europe, including the EU, UK and Switzerland. Its catalogue supports hardware comparison, but the network account, credentials and application configuration remain separate deployment decisions.
FAQ
How do I connect a LoRaWAN gateway to The Things Network?
Register the gateway EUI and frequency plan in The Things Network Console, then configure the gateway's supported forwarding method for the selected cluster. Confirm the connection in Live data and test an application-registered sensor.
Should I use LoRa Basics Station or the Semtech UDP packet forwarder?
Prefer LoRa Basics Station when your gateway firmware supports it because it supports authenticated, encrypted transport. Use the Semtech UDP packet forwarder when it is the supported route for your hardware, recognising its transport-security limitations.
Why is my gateway registered but still disconnected?
Registration creates the network-side gateway entry but does not configure the physical gateway. Check the EUI, server cluster, forwarding service, internet access and credentials appropriate to the connection method.
Does connecting a gateway automatically add my sensors?
No, connecting a gateway does not register sensors in your application. Register each device with the appropriate identifiers, activation settings and regional configuration, then add its payload formatter where needed.
Can I use a cellular internet connection for a Things Network gateway?
Yes, a gateway can use cellular backhaul when its hardware and configuration support it. The cellular connection carries gateway traffic to the internet; the sensors still communicate using LoRaWAN.
Does the number of gateway channels tell me how many sensors it supports?
No, channel count is not a sensor-count limit or a range guarantee. Practical capacity depends on traffic, airtime, radio conditions and downlink use, so assess the intended reporting pattern rather than using channel count alone.
One last thing
A connected gateway is not yet a commissioned sensor system. Before you leave the installation, confirm a registered device uplink in the application and verify a required downlink operation if your sensor workflow uses one.
Keep a short handover record with the gateway EUI, connection method, cluster, frequency plan and credential owner. Store secret keys separately; the next person needs to know how the installation works, not find its credentials in a shared screenshot.