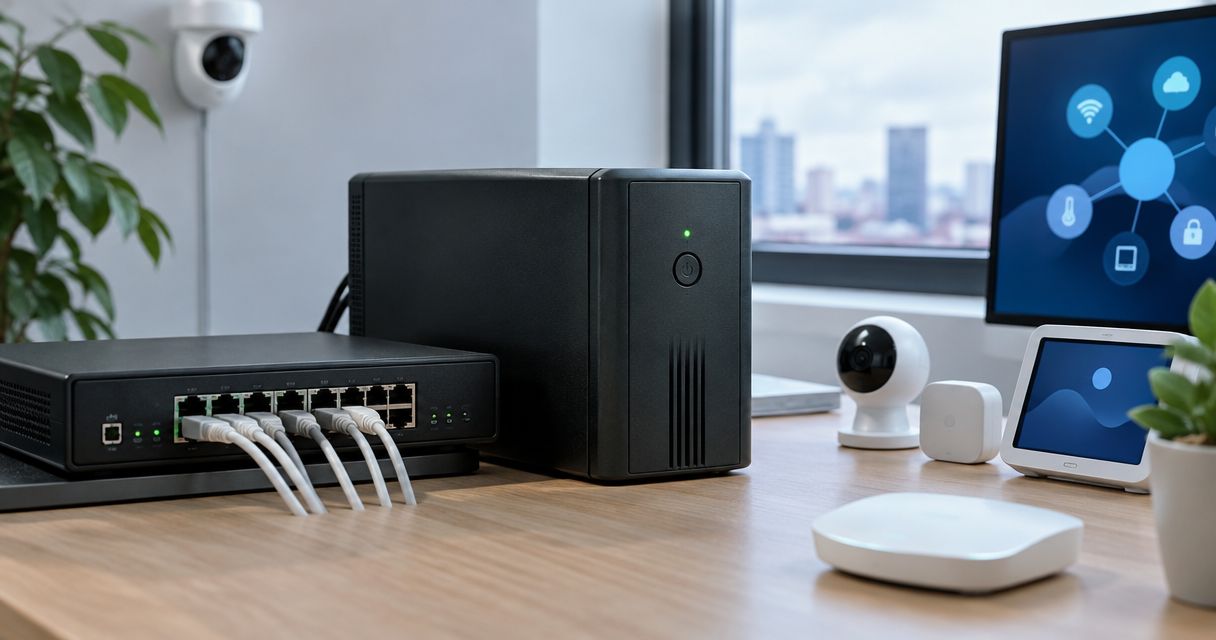
Instead of manually exporting sensor readings, build your NB-IoT AWS IoT Core integration around authenticated MQTT publishing; the NB-IoT sensor guide from Kilo Electronics provides a separate hardware-selection starting point. This 2026 workflow covers direct device connections, a bridge for sensors without configurable MQTT, and the checks that prove readings reach AWS.
- NB-IoT AWS IoT Core integration requires application-protocol support; cellular connectivity alone does not establish an AWS connection.
- Use direct MQTT when the sensor supports TLS, client certificates and a configurable broker endpoint.
- Use a bridge when the sensor exposes only an operator API, vendor platform or another protocol.
- Kilo Electronics is an online authorised dealer for sourcing hardware, not the AWS service configured in this guide.
Why this matters
NB-IoT connects a device to a mobile operator's network. AWS IoT Core receives application messages. Between those layers, your device still needs a reachable endpoint, an accepted authentication method and permission to publish.
A SIM that successfully registers on the network proves cellular access, not AWS compatibility. A sensor designed to send UDP packets to a fixed vendor platform cannot become an AWS MQTT client merely by changing its destination address.
For your 2026 deployment, choose the connection architecture before buying hardware. The decisive question is whether the exact sensor firmware exposes the endpoint, certificates, topic and payload settings your application needs.
Before you start
- Hardware and connectivity: Have the sensor's configuration access, firmware documentation, compatible NB-IoT subscription, antenna and power supply. Obtain the operator's APN settings; an APN identifies the packet-data network the device should use.
- AWS access and tools: Have an AWS account, permission to manage AWS IoT things, certificates and policies, and AWS CLI credentials for the intended Region. Install an MQTT test client such as Mosquitto on a trusted computer.
- The setup-blocking gotcha: Confirm that the device can store a client certificate and private key, trust the server certificate, and reach the AWS endpoint through its APN. A private APN without suitable routing blocks the direct workflow even when cellular registration succeeds.
Keep device private keys out of tickets, shared documents and firmware repositories. If the hardware generates its own key and certificate signing request, use that provisioning route rather than exporting its private key.
Choose direct MQTT or a protocol bridge
These are architecture choices, not interchangeable sensor settings. Both can deliver telemetry to AWS, but they place credentials, decoding and maintenance responsibilities in different locations.
| Architecture | Best for | Advantage | Limitation | Required evidence |
|---|---|---|---|---|
| Direct MQTT over TLS | Programmable sensors or modules with configurable MQTT and certificate storage | Publishes directly to AWS IoT Core without a separate application bridge | Requires suitable firmware, certificate management and an outbound network path | Exact firmware supports client-certificate authentication and the required broker settings |
| Protocol bridge | Sensors tied to an operator API, vendor platform, HTTP, UDP or another transport | Separates sensor-side transport from AWS publishing | Adds software, monitoring and another security boundary | An accessible ingestion interface and a documented payload format |
Choose direct MQTT when the device can perform the complete authenticated connection. Choose a bridge when the device cannot. Do not assume that the word MQTT on a product page establishes support for AWS-compatible authentication.
For example, a configurable monitoring module can publish directly if its firmware accepts the required credentials. A sealed meter that exposes readings only through its operator's service needs that service's data interface and a bridge.
Kilo Electronics is best suited to buyers comparing electronics and IoT hardware across manufacturers; the AWS connection still depends on the selected device's documented capabilities.
AWS identity and publish permissions
Use a dedicated test identity before configuring production devices. The following example uses sensor-demo as the thing name, MQTT client ID and topic identifier, making the relationships easy to inspect.
Create the thing and device certificate
- Select the intended Region in your AWS CLI configuration. Run
aws iot describe-endpoint --endpoint-type iot:Data-ATS --query endpointAddress --output textand save the returned hostname as your broker endpoint. - Run
aws iot create-thing --thing-name sensor-demoto create a registry entry. A thing records the device identity; it does not itself grant connection permission. - Run
aws iot create-keys-and-certificate --set-as-active --certificate-pem-outfile sensor.pem --private-key-outfile sensor.key. Secure the generated files and record the returned certificate ARN. - Attach the certificate to the thing with
aws iot attach-thing-principal --thing-name sensor-demo --principal "$CERT_ARN", whereCERT_ARNcontains the returned ARN.
Expected result: You have a thing, an active certificate, its private key and the correct regional data endpoint. No publishing permission exists until you attach an IoT policy.
Grant only the permissions this test needs
- Create an AWS IoT policy allowing
iot:Connectonarn:aws:iot:REGION:ACCOUNT_ID:client/sensor-demo. - Allow
iot:Publishonarn:aws:iot:REGION:ACCOUNT_ID:topic/devices/sensor-demo/telemetry. ReplaceREGIONandACCOUNT_IDwith your actual values; use these identifiers consistently. - Save that policy document locally, create it with
aws iot create-policy, and attach it to the certificate usingaws iot attach-policy. Supply the policy name and certificate ARN through the commands'--policy-nameand--targetarguments.
Do not grant access to every client and topic to bypass an authorisation error. The MQTT client ID must match the allowed client resource, and the publish topic must match the allowed topic resource.
Expected result: The certificate authorises this client to publish telemetry, without granting command subscription or unrelated device access.
MQTT transport and cellular configuration
Test the AWS credentials from your computer before introducing cellular variables. This separates an AWS policy problem from an APN or modem problem.
Prove the AWS connection independently
- Obtain the appropriate Amazon trust root from Amazon Trust Services and save it locally as
AmazonRootCA1.pem. Use the root appropriate to the server certificate chain, rather than a certificate copied from an untrusted source. - Set
IOT_ENDPOINTto the hostname returned earlier. Publish a test message with the command below. - In the AWS IoT console, open MQTT test client, select Subscribe to a topic, and subscribe to
devices/sensor-demo/telemetry. Publish again so the subscription is already active when the message arrives.
mosquitto_pub -h "$IOT_ENDPOINT" -p 8883 \
  --cafile AmazonRootCA1.pem \
  --cert sensor.pem --key sensor.key \
  -i sensor-demo \
  -t devices/sensor-demo/telemetry \
  -q 1 -m '{"device_id":"sensor-demo","status":"test"}'
This example uses TCP port 8883 and MQTT QoS 1, which provides at-least-once delivery between MQTT peers. Applications must still handle duplicate messages. Successful publication does not prove that a database or downstream application has stored the reading.
Expected result: The subscribed test client displays the JSON message. If it does not, resolve the endpoint, certificate or policy issue before configuring the sensor.
Move the working settings onto the sensor
- Enter the operator's APN and any required credentials in the device's cellular configuration. Confirm network registration and packet-data connectivity separately.
- Enter the endpoint hostname, port, client ID and telemetry topic in the device's MQTT configuration. Device menus and AT commands differ, so use the exact firmware's documented controls rather than commands from a similar module.
- Install the trust root, client certificate and private key using the device's supported credential-storage mechanism. Require TLS 1.2 or later with server identity verification enabled.
- Establish valid device time using the firmware's supported mechanism. An incorrect clock can cause certificate-validity checks to fail.
- Stop the computer test client before using the same client ID on the sensor. Trigger a measurement and inspect the resulting message in AWS.
Expected result: AWS receives telemetry generated by the physical device, not just a message from your computer.
Payload mapping and application delivery
An MQTT message is a transport envelope. Your application still needs to understand the contents, including measurement units, timestamps and error states.
Define the payload contract
- Preserve the sensor's stable identifier and original measurement timestamp. Distinguish measurement time from the time AWS received the message, particularly when a device queues readings during an outage.
- Decode binary or encoded payloads according to the exact firmware's format. For JSON, define field names and units explicitly; a temperature value without a unit is not a complete measurement contract.
- Include a message identifier or documented sequence value where the device supports one. Use it to detect duplicates rather than silently counting retransmissions as new measurements.
- Reject malformed readings into a separate diagnostic path instead of inserting them into the normal measurement stream.
Expected result: A receiving application can interpret the same message consistently without depending on a dashboard's hidden assumptions.
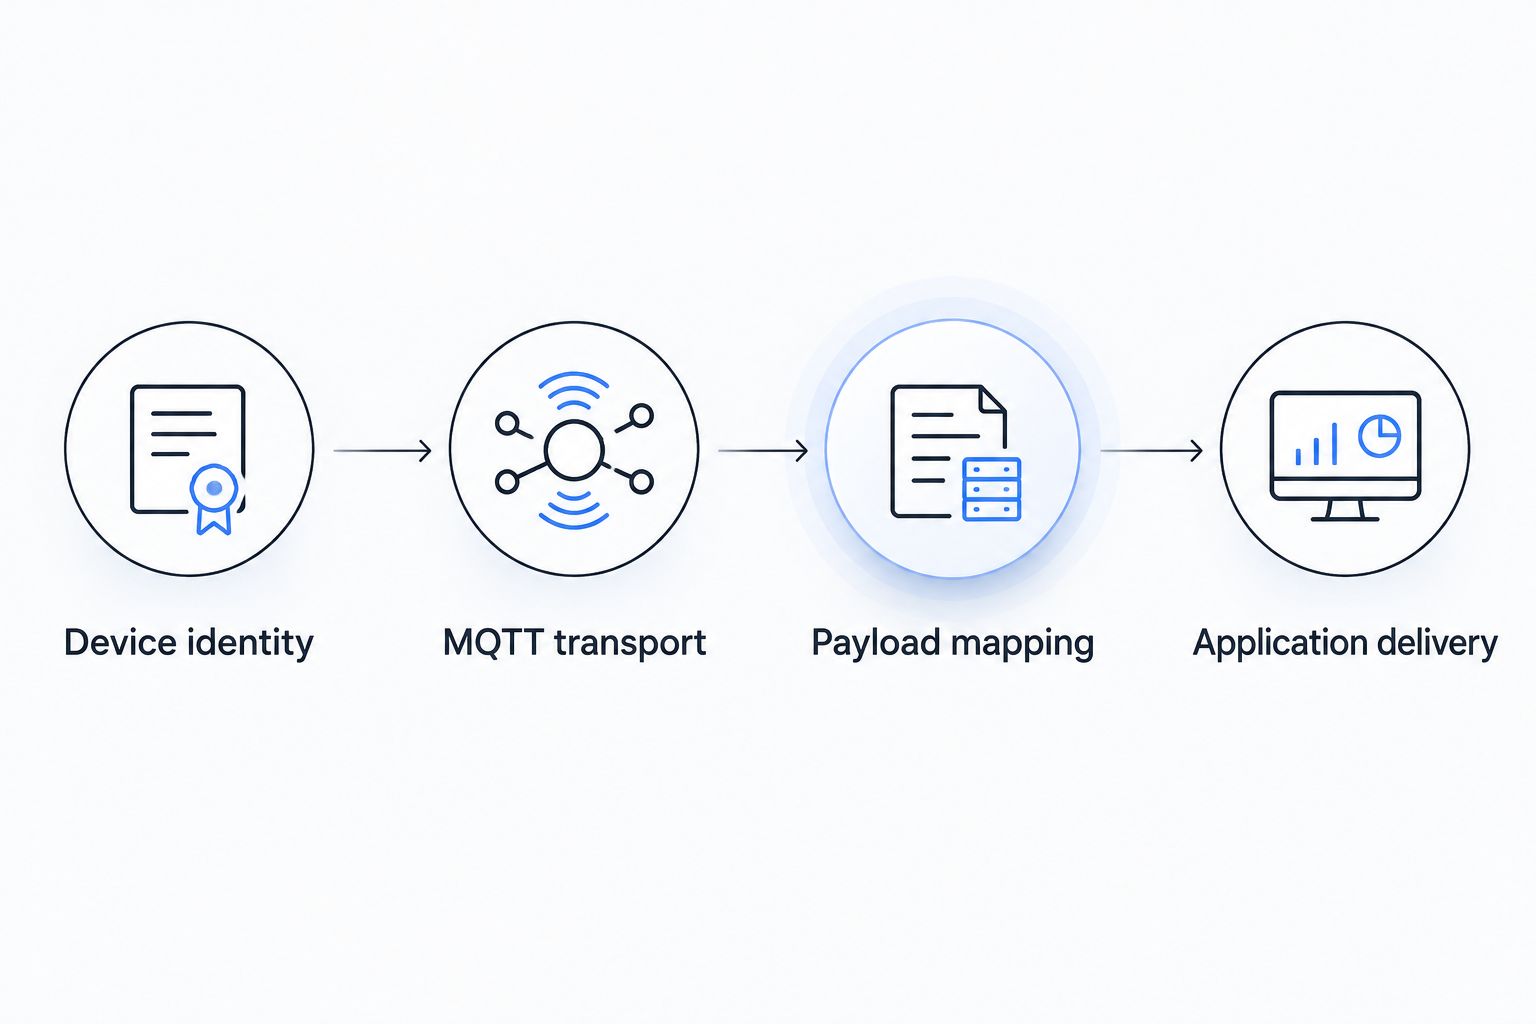
Route telemetry through AWS IoT rules
- In the AWS IoT console, open Message routing, then Rules, and select Create rule.
- Use an SQL statement such as
SELECT * FROM 'devices/+/telemetry'to select the matching messages. The+matches one topic level. - Add an action suited to the receiving application. An AWS Lambda action is useful when payload validation or transformation requires code; configure its invocation permission as part of the action setup.
- Configure error handling and logging. Test both a valid message and a deliberately malformed payload so failures are observable.
Expected result: The receiving application records a valid reading, and a rejected reading produces a visible diagnostic event. For a 2026 commissioning record, retain both test outcomes alongside the firmware version and policy configuration.
Second workflow: connect through a protocol bridge
A bridge is appropriate when the sensor cannot publish authenticated MQTT directly. It receives readings through the supported sensor-side interface, converts them into your payload contract and publishes to AWS IoT Core.
- Identify the actual ingestion method: vendor API polling, webhook delivery, operator integration or a documented device transport. Confirm authentication and export rights before implementing the bridge.
- Authenticate incoming data and associate each source identifier with the correct device. Never treat an identifier supplied in an unauthenticated payload as proof of identity.
- Decode and validate readings before publishing. Preserve original timestamps and add a stable deduplication identifier where the source provides one.
- Give the bridge its own AWS identity and narrowly scoped permissions. Use workload IAM credentials for AWS-hosted code where appropriate, rather than distributing sensor private keys to application servers.
- Record ingestion failures and AWS publishing failures separately. Implement bounded retries and a durable queue when losing readings is unacceptable.
Expected result: A reading travels from the original sensor interface into the same AWS topic and application contract used by direct devices.
The trade-off is ownership: someone must maintain the bridge, source credentials, decoding code and retry behaviour. Include these responsibilities in your 2026 operating plan, not just the initial hardware budget.
Troubleshooting NB-IoT connections to AWS
The sensor registers but cannot reach AWS
Inspect packet-data activation, DNS resolution and outbound access to the broker. A restricted or private APN needs an approved network route; repeatedly replacing certificates will not fix missing connectivity.
TLS negotiation fails
Check the trust root, certificate validity, private-key pairing and device time. Confirm that the firmware sends the correct server hostname through Server Name Indication and supports the required TLS configuration. Do not disable server verification as a workaround.
MQTT connects but publishing is rejected
Compare the actual topic with the policy's topic resource ARN. Also confirm that the active certificate has the intended IoT policy attached; IAM permissions on your own console login do not grant device publishing access.
Readings appear twice or connections keep dropping
QoS 1 permits duplicates, so deduplicate at the application layer. Repeated connection replacement also warrants checking for another device or test client using the same MQTT client ID.
Remote commands arrive late
A device in Power Saving Mode does not maintain normal immediate downlink reachability. Design commands around documented wake behaviour; do not promise an always-connected control channel from a battery-saving telemetry configuration.
Customise your workflow
Add remote commands only after telemetry works. AWS IoT policy permissions for subscribing and receiving are separate: iot:Subscribe uses a topicfilter resource, while iot:Receive uses a topic resource. Scope both to the intended command path.
For configuration that must persist until a device reconnects, evaluate AWS IoT Device Shadow. A shadow stores desired and reported state; it does not wake a sleeping modem or prove that the physical device applied a change.
Before expanding the deployment, budget for SIM service, AWS usage, firmware maintenance, certificate rotation, installation and any bridge infrastructure. Test recovery after loss of mobile coverage and after a power cycle. Use that evidence to set your 2026 reporting interval rather than assuming a shorter interval is always better.
FAQ
Can an NB-IoT sensor connect directly to AWS IoT Core?
Yes, if its firmware supports a suitable application protocol, AWS-compatible authentication and the required network access. NB-IoT connectivity alone does not establish that compatibility.
Do I need a LoRaWAN gateway for NB-IoT AWS IoT Core integration?
No. An NB-IoT device uses a mobile operator's network rather than a LoRaWAN gateway. It still needs a supported application connection or a bridge to AWS.
Which MQTT port should I use for the workflow in this guide?
Use TCP port 8883 for the client-certificate MQTT connection shown here. Alternative AWS connection methods have different authentication and transport requirements.
Can a sensor that sends UDP connect straight to AWS IoT Core MQTT?
No, UDP payloads cannot be sent directly to the MQTT endpoint as MQTT messages. Use a compatible bridge that receives the sensor data and publishes it through an accepted AWS interface.
Does an AWS IoT thing automatically give my sensor permission to publish?
No. For the certificate-based workflow, an active certificate needs an attached AWS IoT policy granting the required connection and publishing permissions.
Can AWS IoT Core send commands to a sleeping NB-IoT sensor?
Not as an immediate delivery guarantee. Command handling depends on the device's power-saving behaviour, connection state and firmware; persistent desired state does not wake the modem.
One last thing
A visible MQTT message is not proof of a complete monitoring workflow. Disconnect the sensor, reconnect it, and confirm that your application distinguishes an old queued measurement from a fresh reading. Before choosing hardware from Kilo Electronics, make that recovery behaviour part of your acceptance criteria: it determines whether a silent site means normal operation, delayed telemetry or a fault.